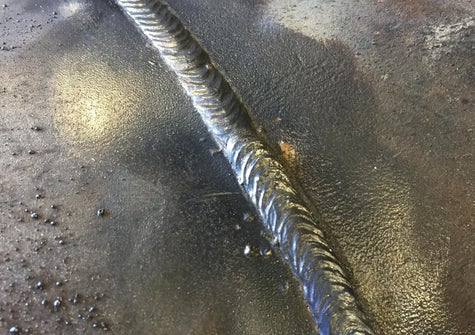
How To: MIG Welding, also known as Gas Metal Arc Welding (GMAW)
STEP 1: Prepare Your Workspace
- Set up your welding machine according to the material you are welding and its thickness.
- Ensure proper ventilation to remove welding fumes and have a fire extinguisher nearby.
- Clear your work area of any flammable materials and ensure it's clean and free from clutter.
- Wear appropriate safety gear including a welding helmet with a proper shade, welding gloves, welding jacket, and safety glasses.
STEP 2: Prepare Your Materials
- Clean the metal surfaces you plan to weld using a wire brush or grinder to remove any dirt, rust, or oxidation.
- Make sure the metal pieces fit together properly and are securely clamped in place.
STEP 3: Set Up Your Welding Equipment
- Install the appropriate wire electrode based on the material you are welding. Use flux-cored wire for welding thicker materials or when welding outdoors without shielding gas.
- Install the correct contact tip size and ensure it's securely tightened.
- Choose the appropriate shielding gas based on the material you are welding. Common options include pure CO2 or a mixture of CO2 and argon.
- Set the wire feed speed and voltage on your welding machine according to the material thickness and type.
STEP 4: Position Yourself
- Position yourself comfortably with a stable stance, ensuring you have good visibility of the welding area.
STEP 5: Start Welding
- Hold the MIG gun at a slight angle (around 10-15 degrees) to the workpiece, pointing in the direction of travel.
- Pull the trigger on the MIG gun to start the welding process. This will energize the wire electrode and initiate the arc.
- Keep a consistent arc length, typically around 1/4 inch (6 mm), by maintaining a steady distance between the MIG gun and the workpiece.
- Move the MIG gun smoothly along the joint, following the desired welding path.
- Add filler metal if necessary by adjusting the wire feed speed or manually feeding the wire into the weld pool.
- Keep the weld pool protected by the shielding gas at all times to prevent contamination and ensure proper fusion.
STEP 6: Finish the Weld
- Gradually reduce the wire feed speed and voltage as you approach the end of the weld to prevent undercutting.
- Release the trigger on the MIG gun to stop the welding process.
- Allow the weld to cool gradually, then inspect it for any defects or imperfections.
- Make any necessary repairs or adjustments and clean the weld area of any slag or spatter using a wire brush or chipping hammer.
STEP 7: Clean Up
- Turn off the welding machine and allow it to cool down.
- Clean the welding area and remove any waste materials.
- Properly store your equipment and dispose of any waste materials according to local regulations.
Practice MIG welding regularly to improve your skills and proficiency. Pay attention to welding technique, travel speed, and heat input to achieve high-quality welds.
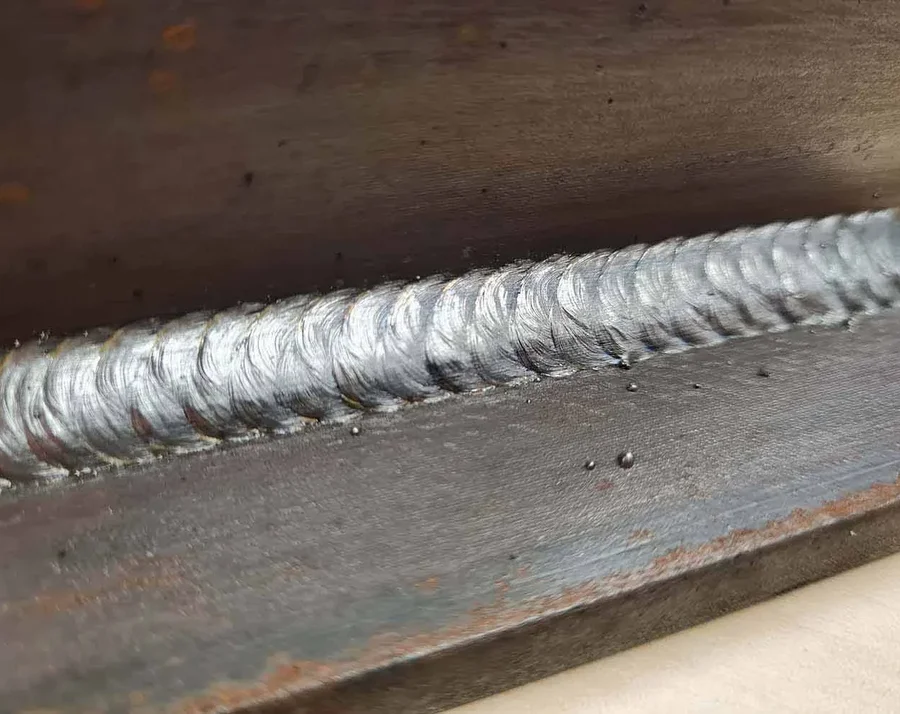
How To: Arc welding, also known as Shielded Metal Arc Welding (SMAW) or stick welding.
STEP 1: Prepare Your Workspace
- Set up your welding machine in accordance with the material thickness and type you will be welding.
- Ensure your work area is well-ventilated and free from any flammable materials.
- Gather all necessary safety equipment: welding helmet, gloves, welding jacket, and safety glasses.
STEP 2: Prepare Your Materials
- Clean the metal surfaces you plan to weld using a wire brush or grinder to remove any dirt, rust, or oxidation.
- Ensure the metal pieces fit together properly and are securely clamped in place.
STEP 3: Select Your Electrode and Welding Current
- Choose the appropriate electrode for your material and welding conditions. Electrodes come in various types and sizes, each suited for different applications.
- Set the welding machine to the appropriate current (amperage) based on the electrode diameter and material thickness.
STEP 4: Set Up Your Welding Equipment
- Install the selected electrode into the electrode holder (also known as the stinger) and ensure it is securely tightened.
- Connect the work clamp to the workpiece, ensuring a clean and tight connection.
- Check the welding machine settings to ensure proper polarity (DC electrode positive is commonly used for most applications).
STEP 5: Position Yourself
- Position yourself comfortably with a stable stance, ensuring you have a clear view of the welding arc.
STEP 6: Strike An Arc
- Hold the electrode holder at a slight angle (around 10-15 degrees) to the workpiece, pointing in the direction of travel.
- Make contact between the electrode and the workpiece, then quickly lift the electrode about 1/8 inch (3 mm) to initiate the arc.
- Maintain a consistent arc length by adjusting the distance between the electrode and the workpiece. The ideal arc length is typically the diameter of the electrode.
STEP 7: Welding Technique
- Move the electrode along the joint in a smooth, steady motion, weaving slightly if necessary to ensure adequate penetration and coverage.
- Deposit filler metal into the weld pool as needed by dabbing it into the leading edge of the weld puddle.
- Control the heat input by adjusting the arc length and travel speed to prevent overheating or undercutting.
STEP 8: Complete the Weld
- Continue welding along the entire length of the joint, maintaining a consistent technique and arc length.
- Gradually reduce the welding current as you approach the end of the weld to prevent undercutting.
- Once the weld is complete, slowly withdraw the electrode while maintaining the arc to allow the weld to cool gradually.
STEP 9: Clean Up
- Turn off the welding machine and allow it to cool down.
- Clean the welding area and remove any slag or spatter using a wire brush or chipping hammer.
- Properly store your equipment and dispose of any waste materials according to local regulations.
Remember to practice proper safety precautions and techniques when arc welding, as it involves high temperatures and potential hazards. With practice and experience, you can improve your arc welding skills and produce high-quality welds.
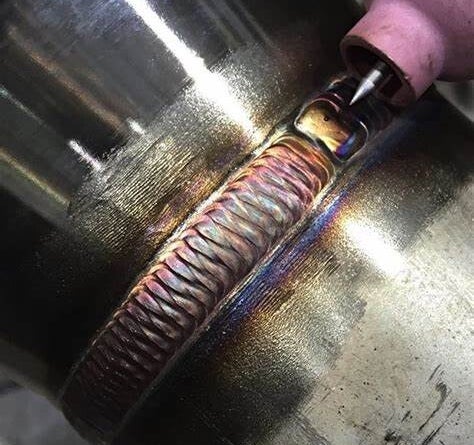
How To: TIG welding, also known as Gas Tungsten Arc Welding (GTAW)
STEP 1: Prepare Your Workspace
- Set up your welding machine according to the material you are welding and the thickness of the material.
- Make sure your work area is clean, well-ventilated, and free from any flammable materials.
- Ensure you have all the necessary safety equipment: welding helmet, gloves, welding jacket, and safety glasses.
STEP 2: Prepare Your Materials
- Clean the metal surfaces you plan to weld using a wire brush or grinder to remove any dirt, rust, or oxidation.
- Make sure the metal pieces fit together properly and are securely clamped in place.
STEP 3: Set Up Your Welding Equipment
- Choose the appropriate tungsten electrode for your material and welding conditions. Thoriated tungsten is commonly used for steel, while pure tungsten or zirconiated tungsten is used for aluminum and other non-ferrous metals.
- Grind the tungsten electrode to a point. The angle of the point will depend on your welding technique and preferences.
- Install the tungsten electrode into the TIG torch, ensuring it is securely tightened.
STEP 4: Set Your Welding Parameters
- Set the appropriate welding current (amperage) and polarity on your welding machine based on the material thickness and type.
- Adjust the gas flow rate (typically argon or a mixture of argon and helium) to ensure adequate shielding of the weld area.
STEP 5: Body positioning
- Position yourself comfortably with a stable stance, ensuring you have good visibility of the welding area.
STEP 6: Start Welding
- Bring the tungsten electrode to the workpiece and initiate the arc by briefly pressing the foot pedal or triggering the torch switch.
- Hold the torch at a slight angle (around 10-15 degrees) to the workpiece, pointing in the direction of travel.
- Maintain a consistent arc length, typically around 1/8 inch (3 mm), by adjusting the distance between the torch and the workpiece.
- Move the torch smoothly along the joint, adding filler metal as needed to create a continuous weld bead.
- Keep the weld puddle and the tungsten electrode protected by the inert gas shield at all times.
- Control the heat input by adjusting the amperage and travel speed to prevent overheating or distortion of the workpiece.
Step 7: Finish the Weld
- Gradually reduce the welding current as you approach the end of the weld to avoid undercutting.
- Once you've completed the weld, slowly take away the torch while maintaining the gas shield to allow the weld to cool gradually.
- Inspect the weld for any defects or imperfections and make any necessary repairs or adjustments.
Step 8: Clean Up
- Turn off the welding machine and allow it to cool down.
- Clean the welding area and remove any slag or spatter using a wire brush or chipping hammer.
- Properly store your equipment and dispose of any waste materials according to local regulations.
Remember, TIG welding requires a lot of practice to master, so don't be discouraged if your first welds aren't perfect. Keep practicing and refining your technique to improve your skills over time.